Knight ATV
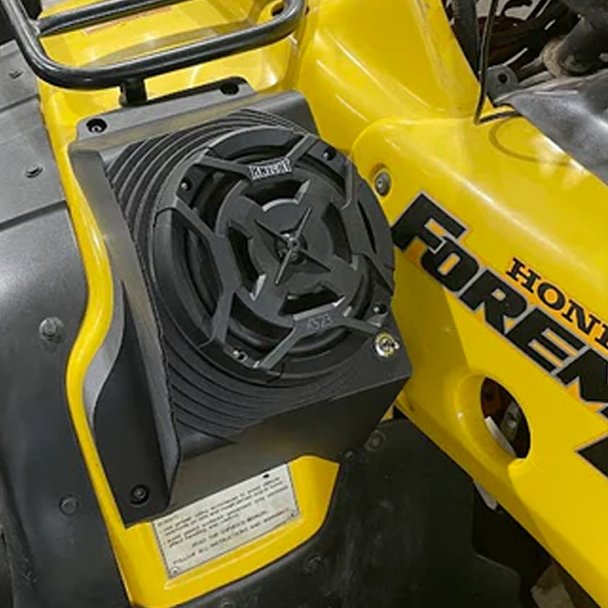
Honda Foreman 400/450 (95-04) Bluetooth Fender Speaker Kit
- Availability:
- Please allow up to 5 business days for processing colored housings.
- Shipping:
- Free Shipping
Description
Honda Foreman 400/450 Bluetooth Speaker Kit with LED Lights | 1995-2004
Turn Your Ride Into a Rolling Concert
Picture this: You're deep on the trail, your favorite playlist pumping through crystal-clear speakers while LED lights dance with the beat. Your Honda Foreman isn't just an ATV anymore—it's your personal entertainment zone.
Feel the Difference
Wireless Freedom Skip fumbling with tangled wires. Your phone or other Bluetooth-enabled device connects instantly, letting you control your soundtrack without missing a beat on the trail.
Waterproof Adventures Rain, mud, dust—bring it on. While other riders worry about their gear, you're cranking your tunes knowing your speakers are built for whatever nature throws at you.
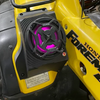
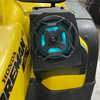
Light Up the Night Watch heads turn as your LED-lit Foreman rolls into camp. One remote click transforms your ATV from workhorse to party machine.
Install & Ride Forget complicated setups. This plug-and-play system gets you jamming in minutes, not hours. Laser-scanned housings fit your 1995-2004 Honda Foreman fenders like they came from the factory.
What You Get
- (2) Custom 3D modeled speaker housings for a perfect fit against your front fender
- (2) 6.5 inch Knight ATV Marine Speakers
- 12VDC, 120W, 60W RMS, 4ohm per speaker
- (1) Marine Amplifier (Bluetooth accessible)
- 600 watt max
2 x 100 Watts RMS at 4 Ohms
2 x 200 Watts Max at 4 Ohms
2 x 300 Watts RMS at 2 Ohms - Mounting Hardware
- Waterproof On/Off Switch with Red LED Light
- LED Lights
- Click here to download the app for the LED lights for iPhones.
- Click here to download the app for the LED lights for Androids.
- All Necessary Wiring for Plug and Play Installation
- 2-Year Warranty
Applications:
Honda Foreman 400 (1995-2003)
Honda Foreman 450 (1998-2004)
Installation:
- Place the left speaker housing (the one with the amplifier mounted inside it) on the left fender so that it sits flush against the surface, slide it around until you feel it set into its perfect location.
- Drill 4 holes into the fender for the mounting bolts, don't bolt it on yet.
- After that, notice where the wires will be, about center but a little lower than the speaker. Drill a hole near the bottom center of the speaker housing for the wiring harnesses.
- Push all the wires through and then mount the speaker housing to the fender. DO NOT over tighten the bolts to secure the housing to the fender plastic.
- Run the wires for the other speaker, and LED (if purchased), to the right speaker. Somewhere along the front of the ATV, keep the wires away from moving and hot parts. Wait to secure these with cable ties until after the speakers are fully installed and tested.
- Line up the right speaker housing on the right fender. Drill the same holes as the left side.
- Push the wires from the left side through that center hole and connect the wires to the speaker and the LED (if purchased), make sure to line up the little arrows on the LED wires.
- Bolt the speaker to the fender, DO NOT over tighten the bolts.
- Run the Black and Red wire from the left speaker to your battery, connect the red wire to positive and black wire to negative.
- Turn it on and connect Bluetooth and test LED's.
- Fasten all the wiring away from moving and hot parts using cable ties. Use duct tape or silicone to fill in around the holes that the wires come out of.
- Done! Go ride and enjoy!
